前言
最近申请了一个实践项目,主要做图像分类识别的,虽说不知道能不能立项吧(已立项),但是既然已经决定往软件方面转了,所以有必要先搭建一下环境。对比了一下现有的深度学习框架,决定先安装谷歌的TensorFlow,然后再安装keras。
来源
https://tensorflow.google.cn/install/
我的环境
依旧是Windows 10子系统 Ubuntu 18.04稍加思索,考虑到CUDA,故放弃了,使用Win10- Python 3.6
本文目的:
- 安装CUDA驱动程序和cuDNN,确保GPU能够运行深度学习代码
- 安装一个Keras后端:TensorFlow
- 安装Keras
anaconda安装TensorFlow-gpu
- 创建一个3.6的环境:
conda create --name tfenv python=3.6 - 激活这个环境:
activate tfenv - 安装TensorFlow-gpu
pip install --ignore-installed --upgrade tensorflow-gpu -i https://pypi.tuna.tsinghua.edu.cn/simple
安装CUDA和cuDNN
CUDA下载地址: https://developer.nvidia.com/cuda-toolkit-archive
cuDNN下载地址: https://developer.nvidia.com/rdp/cudnn-archive
我安装的是CUDA 10.0和cuDNN 7.4.1.5,cuDNN要放到任意文件夹,但环境变量的路径要添加。
安装keras
pip install --ignore-installed --upgrade keras -i https://pypi.tuna.tsinghua.edu.cn/simple
问题解决
当然,这鬼东西哪有那么容易就装上了呢?
问题1:
照着上面的步骤安装之后,import tensorflow提示DLL读取失败,搜了之后装了VS 2017 C++什么的库,并重启、不管用。搜了一下说是官方还未支持CUDA 10,需要安装别人自己编译的。
于是在这里:https://blog.csdn.net/qq_41895190/article/details/83892692 安装了他提供的TensorFlow 1.12。
问题2:
装了之后,依旧尼玛报错,这次提示ImportError: cannot import name 'abs',而且与kares有关,搜了一下,卸载Tensooflow-gpu和protobuf,不管用。
于是在这里:https://stackoverflow.com/questions/51299194/importerror-cannot-import-name-abs 找到了解决办法,卸载Tensooflow-gpu和protobuf,还要删除site-packages里面的TensorFlow文件夹,再次安装,解决。
测试TensorFlow
输出hello程序:
1 | import tensorflow as tf |
输出:
测试GPU是否开启程序:
1 | import tensorflow as tf |
输出: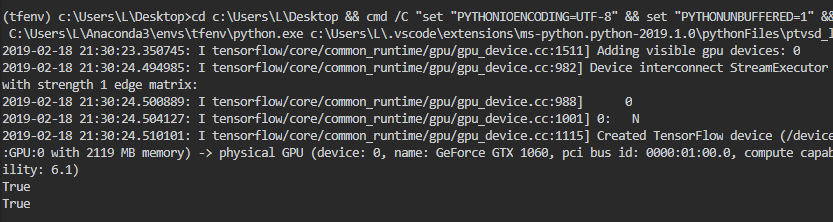
计算一个行列式相乘:
1 | import tensorflow as tf |
输出:
1 | [ |
测试Keras
1 | from __future__ import print_function |
输出:
1 | Using TensorFlow backend. |
结束语
安装挺麻烦的。。至于上面mnist手写数据识别是怎么实现的,我也不知道,慢慢学吧。